- You are here:
-
Blog

-
Washington Works
- Tip of the Week: Create Envelopes For Your Whole Contact List With Word
Washington Works Blog
Tip of the Week: Create Envelopes For Your Whole Contact List With Word

Microsoft Office has many capabilities that aren’t fully utilized by the majority of their users. Mail merges in Word used to be a time consuming, frustrating process. With each new edition of Word, Microsoft has refined the process to make it a lot more user-friendly. Take the following steps to create a professional looking envelope for your business that easily adds a list of contacts from a CSV file, Outlook, and more.
Begin with a New document.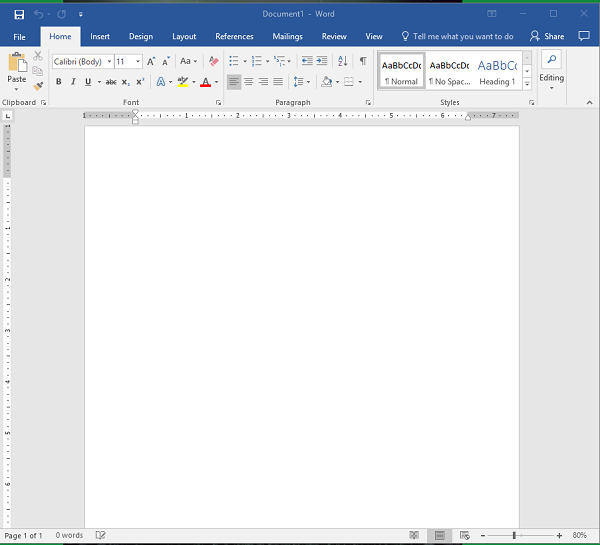
Access the Layout menu.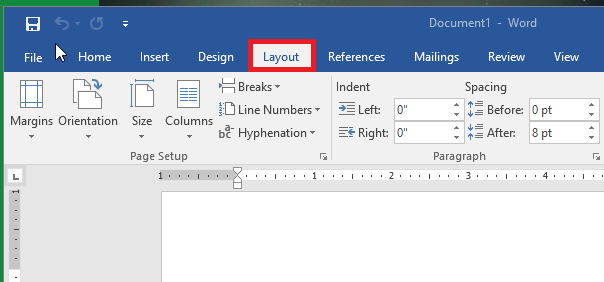
Click on ‘Size’ to change the size of the page to the proper envelope size. (If you’re unsure about the size of your envelopes, it’s usually located on the box) #10 is the traditional ‘letter’ envelope.
You’ll see that the document layout has changed to the appropriate size.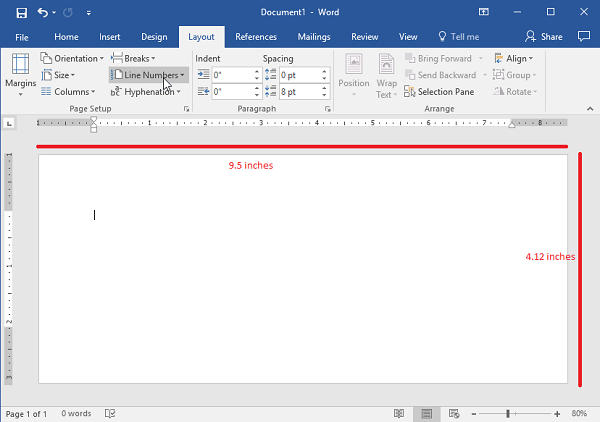
Next, you’ll navigate to the ‘Insert’ tab and select ‘Text Box’.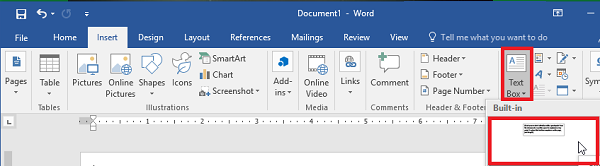
Use the ‘Simple Text Box’ option. This will be used for the return address.
Once you have your address updated, you’ll want to drag the text to the desired location.
If you are happy with the location of your address, you’ll want to remove the black border around the text box. To do this, right click on the box and select ‘Format Shape’. Switch the radial button from ‘Solid Line’ to ‘No Line’.
Using Font options, you’ll want to style and brand your return address. You may even want to include your logo.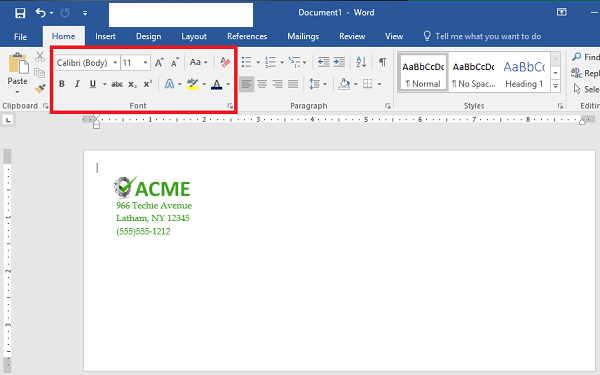
Now, it’s time to start the Mail Merge. You’ll begin by adding another ‘Text Box’, remove the standing text and leave the cursor in the box.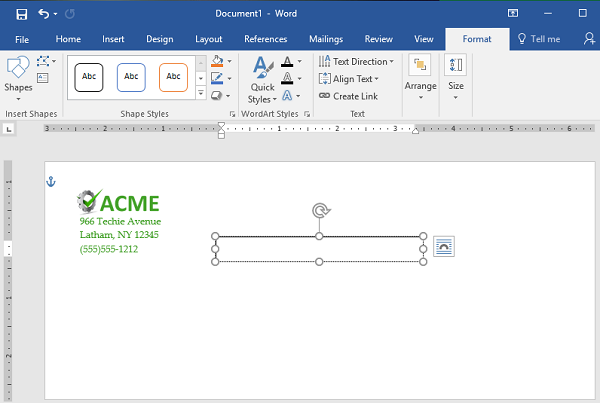
Access ‘Select Recipients’ to identify the source of the contacts. In this case, we’re using a file that already exists. (Note: This should be a CSV file.)
Next select ‘Address Box’. This will appear in the text box you created earlier.
Follow the prompts to assist with formatting the address properly.
Use ‘Preview Results’ to make sure the addresses display properly, are easy to read and fit on the envelope. Depending on how many recipients, you’ll want to scroll through and make sure the formatting is the same throughout.
That’s it! Now you’ve got the letters ready to go, you can either save them or send them to print.
Did you find this Microsoft Word walkthrough helpful? We hope so! If you are interested in learning more about implementing Microsoft Office 365 for your business, reach out to us anytime at 301-571-5040. Check back every week to find new technology tips and tricks!
About the author

Mobile? Grab this Article!
Tag Cloud
Comments 1
Envelope is the file that is used to cover up many files and the data but in the term of jobs, it is known as the cover letter of the detail experience. The tip of the week here is http://www.rexchimex.com/2018/05/how-to-study-while-travelling.html in which the creation of the envelope for the whole contract letters and the other products.